
Did you know a single error in collecting a sample can reduce the accuracy of molecular testing by up to 30 percent? Getting precise genetic results starts long before the lab work. Each step, from the first swab to the final report, shapes the reliability of findings that can impact important health decisions. Understanding this process helps you ensure your molecular test delivers the answers you need.
Table of Contents
- Step 1: Collect and Prepare the Biological Sample
- Step 2: Extract and Purify Nucleic Acids
- Step 3: Set Up and Run the Molecular Test
- Step 4: Analyze the Molecular Test Data
- Step 5: Verify Results and Report Findings
Quick Summary
| Key Point | Explanation |
|---|---|
| 1. Collect a clean biological sample | Proper collection ensures the accuracy of molecular test results, preventing contamination with food or other substances. |
| 2. Extract and purify nucleic acids | Use appropriate methods to isolate nucleic acids from the sample, ensuring high-quality genetic material for testing. |
| 3. Set up and run the molecular test | Calibrate equipment and prepare samples accurately to achieve reliable diagnostic information during the testing process. |
| 4. Analyze molecular test data clearly | Systematically interpret test results against reference standards to determine the presence or absence of genetic sequences. |
| 5. Verify results and prepare reports | Conduct thorough validation of test findings and communicate results in a clear, understandable report for medical professionals and patients. |
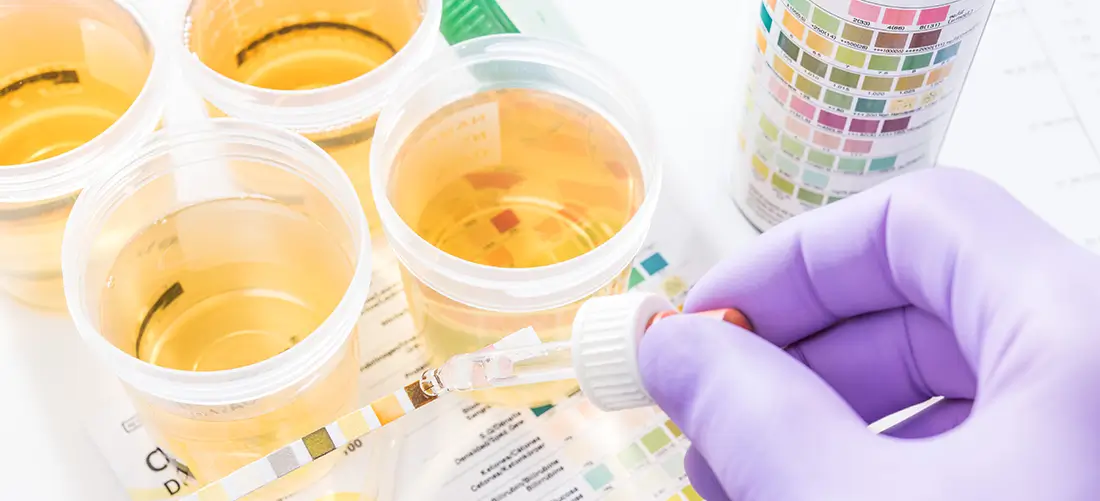
Step 1: Collect and Prepare the Biological Sample
This step involves gathering and readying your biological sample for molecular testing. You will learn how to carefully collect a clean sample that ensures accurate diagnostic results.
To start, select the appropriate sample type your healthcare provider has recommended. For most molecular tests, this could be a cheek swab, blood sample, or saliva specimen. According to research from Ohio State University, proper sample collection is critical for obtaining high-quality genetic material.
Begin by washing your hands thoroughly and preparing your collection materials. If using a cheek swab, gently rub the inside of your cheek with a sterile swab using circular motions for about 15 seconds. Press the swab firmly against the cheek wall to collect enough cellular material. Avoid eating, drinking, smoking, or chewing gum for at least 30 minutes before collection to prevent sample contamination.
Pro Tip: Keep the collection area clean and follow all instructions precisely to maintain sample integrity.
Once collected, immediately place your sample in the provided sterile container. Some tests require refrigeration or specific handling conditions. Always follow the specific instructions provided by your testing facility to ensure the sample remains viable for molecular analysis.
Your next step will involve preparing the sample for laboratory processing and molecular testing.
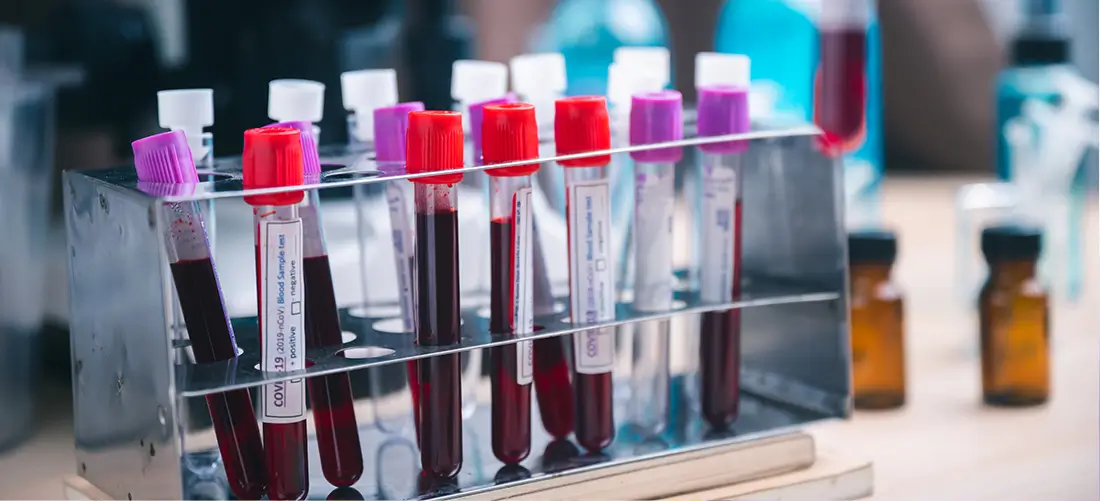
Step 2: Extract and Purify Nucleic Acids
In this crucial stage, you will transform your biological sample into a concentrated and purified form of genetic material ready for molecular testing. You will learn how to carefully separate and isolate nucleic acids from other cellular components.
According to the Centers for Disease Control and Prevention, nucleic acid extraction involves several key steps designed to break open cells and separate genetic material from proteins and other cellular debris.
Start by selecting an appropriate extraction method based on your sample type. For most samples, you will use a lysis buffer that breaks down cell membranes and releases nucleic acids. Gently mix your sample with the lysis solution to ensure complete cell disruption. Research from the University of Hawaii suggests using techniques like phenol-chloroform extraction to effectively separate nucleic acids.
Pro Tip: Work carefully and maintain consistent temperature to prevent nucleic acid degradation.
After lysing the cells, you will use centrifugation to separate different molecular components. Spin the sample to isolate nucleic acids from proteins and other cellular materials. Carefully transfer the purified genetic material to a clean collection tube.
Finally, use spectrophotometry to measure the concentration and purity of your extracted nucleic acids. This step ensures you have high-quality genetic material for subsequent molecular testing.
Your next step will involve preparing the purified nucleic acids for specific molecular analysis techniques.
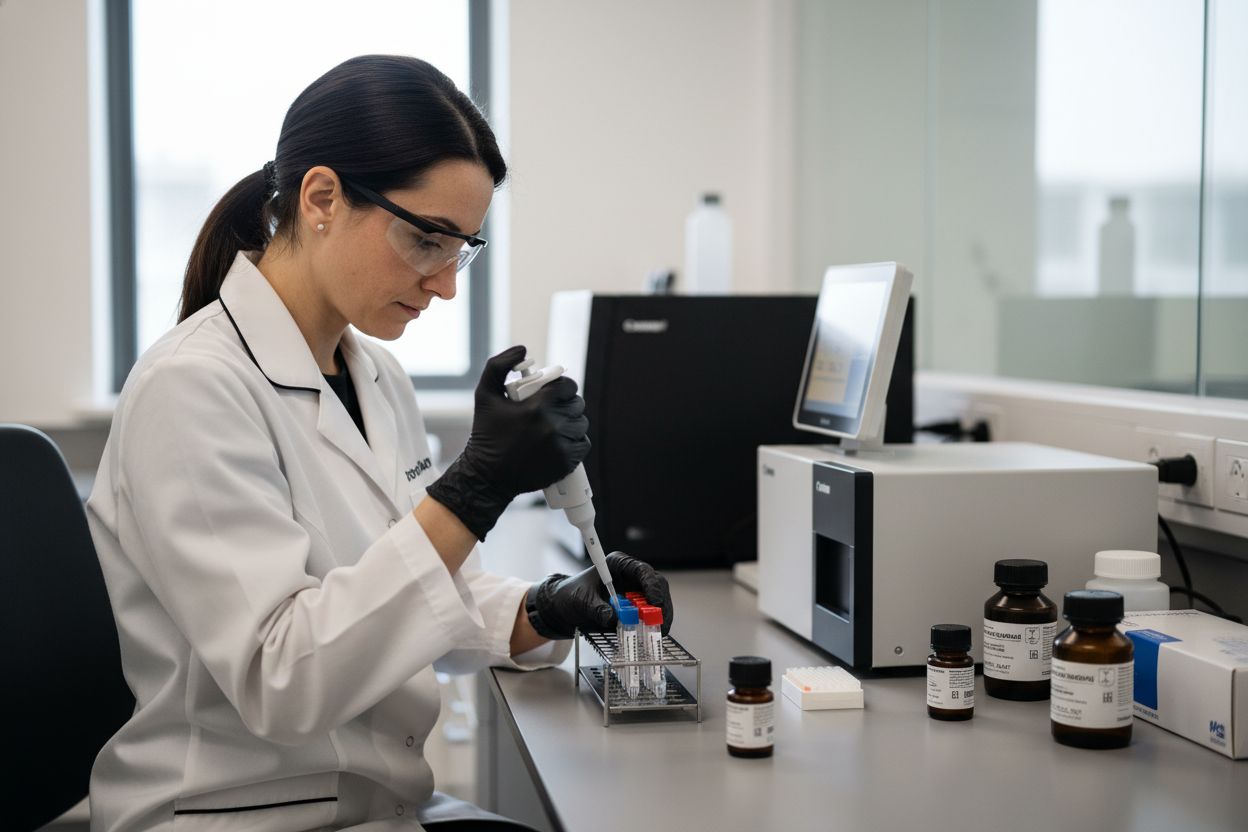
Step 3: Set Up and Run the Molecular Test
This stage transforms your carefully prepared nucleic acids into actionable diagnostic information. You will learn how to accurately configure and execute your molecular test using advanced laboratory techniques.
According to research published in the National Center for Biotechnology Information, setting up a molecular test requires precise preparation and attention to detail. Begin by checking all your equipment and reagents. Ensure your testing area is clean and that all materials are at the correct temperature.
Carefully calibrate your molecular testing instrument according to the specific test requirements. For most molecular tests like PCR, you will need to prepare a reaction mixture that includes your purified nucleic acids, specific primers, and a master mix containing enzymes necessary for genetic analysis. Research from recent molecular biology protocols highlights the importance of maintaining consistent conditions during test setup.
Pro Tip: Always use fresh pipette tips and work in a designated clean area to prevent cross contamination.
Load your prepared samples into the designated wells or tubes in the testing instrument. Double check that each sample is placed in the correct location to ensure accurate results. Follow the specific thermal cycling or amplification protocol recommended for your particular molecular test.
Monitor the test progression carefully.
Most modern molecular testing platforms provide real time feedback and will automatically record and analyze the genetic signals detected during the process.
Your next step will involve interpreting the molecular test results and preparing a comprehensive diagnostic report.
Step 4: Analyze the Molecular Test Data
In this critical stage, you will transform raw molecular test results into meaningful diagnostic insights. You will learn how to systematically interpret genetic data and understand its clinical significance.
Research from the National Center for Biotechnology Information emphasizes the complexity of molecular test data interpretation. Begin by carefully reviewing the generated data outputs from your molecular testing platform. Look for specific genetic markers, signal strengths, and amplification patterns that indicate the presence or absence of target genetic sequences.
Carefully assess the test results against established diagnostic criteria. For most molecular tests, you will evaluate the presence of specific genetic sequences by comparing the detected signals to known reference standards. Molecular biology protocols recommend paying close attention to the sensitivity and specificity of the test results.
Pro Tip: Always cross reference molecular test results with clinical context and patient medical history for comprehensive interpretation.
Identify any positive or negative signals in your test data. Positive results indicate the presence of a specific genetic sequence or molecular marker, while negative results suggest the absence of the target genetic material. Consider the quantitative aspects of the test results, such as the concentration or copy number of detected genetic sequences.
Consult with specialized laboratory professionals or medical experts to validate complex or ambiguous test results. Some molecular tests may require additional confirmatory analysis or expert interpretation to ensure accurate diagnostic conclusions.
Your final step will involve preparing a comprehensive diagnostic report based on your molecular test data analysis.
Step 5: Verify Results and Report Findings
In this final critical stage, you will transform your molecular test analysis into a precise and reliable diagnostic report. You will learn how to validate results and communicate findings with utmost accuracy and professionalism.
According to research from the National Center for Biotechnology Information, result verification is a crucial component of molecular testing. Begin by conducting a comprehensive internal review of your test data. Compare your initial findings with established quality control parameters and reference standards to ensure result reliability.
Molecular biology protocols recommend implementing multiple verification strategies. This involves cross checking your results using different analytical approaches or running duplicate tests to confirm reproducibility. Pay special attention to any borderline or ambiguous results that may require additional investigation.
Pro Tip: Maintain meticulous documentation of all verification steps to support the credibility of your molecular test findings.
Prepare a comprehensive report that clearly communicates test results. Include key information such as the testing methodology, genetic markers identified, result interpretations, and any limitations or potential uncertainties associated with the test. Use clear language that can be understood by both medical professionals and patients.
If your results indicate potential clinical significance, recommend follow up actions or additional testing. Collaborate with medical experts to provide contextual insights that support accurate diagnostic decision making.
Your molecular testing journey is now complete, with a validated and professionally reported set of diagnostic findings.
Here is a summary of the main steps and their purposes in the molecular testing process:
![]()
| Step | Purpose | Key Actions |
|---|---|---|
| Collect Sample | Obtain biological material | Select sample type Ensure cleanliness Avoid contamination |
| Extract/Purify Nucleic Acids | Isolate genetic material | Use lysis buffer Centrifuge sample Measure purity |
| Set Up & Run Test | Analyze genetic material | Prepare reaction mix Calibrate instruments Run amplification |
| Analyze Data | Interpret genetic results | Review signals Compare to standards Assess markers |
| Verify & Report | Confirm and communicate findings | Validate results Document process Prepare report |
Take Control of Your Molecular Testing Journey with Centra Diagnostics
Navigating each step of molecular testing can feel overwhelming when accuracy and speed are essential for making critical healthcare decisions. From collecting a pristine biological sample to verifying complex genetic data, every phase demands expertise and precision that many labs struggle to deliver. If you are looking to overcome challenges like sample contamination, processing delays, or unclear test interpretations, Centra Diagnostics offers solutions designed to meet these pain points. Our advanced molecular testing services combine cutting-edge technology and dedicated client management to ensure reliable, fast, and clear results you can trust.

Experience a smoother, more confident diagnostic process today. Visit Centra Diagnostics to explore our comprehensive range of molecular testing options. We specialize in helping patients and healthcare providers obtain actionable insights without the headache. Ready to move forward with expert support and first-in-class turnaround times Visit Centra Diagnostics Molecular Testing now and discover how easy it is to get started. For personalized questions or immediate assistance, our live support team is here to guide you through every step.
Frequently Asked Questions
How do I collect a biological sample for molecular testing?
To collect a biological sample, select the type recommended by your healthcare provider, such as a cheek swab or saliva specimen. Follow all instructions carefully to avoid contamination; for example, refrain from eating or drinking 30 minutes before collection.
What steps are involved in extracting and purifying nucleic acids?
Nucleic acid extraction involves breaking open cells with a lysis buffer and separating the genetic material from other components through centrifugation. Use spectrophotometry to measure the concentration and purity of the extracted nucleic acids to ensure they are suitable for testing.
How do I set up and run a molecular test?
To set up a molecular test, calibrate your equipment and prepare a reaction mixture that includes the purified nucleic acids and necessary reagents. Carefully load your samples into the testing instrument and follow the recommended thermal cycling protocol to ensure accurate results.
What should I look for when analyzing molecular test data?
When analyzing molecular test data, review the generated outputs for specific genetic markers and their amplification patterns. Compare the detected signals against known reference standards to assess the presence or absence of target genetic sequences.
How can I ensure the accuracy of my molecular test results?
To ensure result accuracy, conduct a comprehensive internal review and implement verification strategies, such as running duplicate tests. Maintain meticulous documentation of your verification process and consider consulting with laboratory professionals if results are ambiguous.
How do I create a diagnostic report based on molecular test results?
To create a diagnostic report, compile all test findings, including methodology, identified genetic markers, and interpretations. Use clear language to communicate your findings and recommend any follow-up actions or additional testing as necessary.